Fit, dimensions & layout
Measure the drawer floor at front, middle, and back and use the smallest clear dimension. The finished grid should leave a little clearance around all sides. For a divider height H, slots from opposite edges each reach about H/2; their width must fit the actual cardboard thickness. Make two test strips before cutting the full layout.
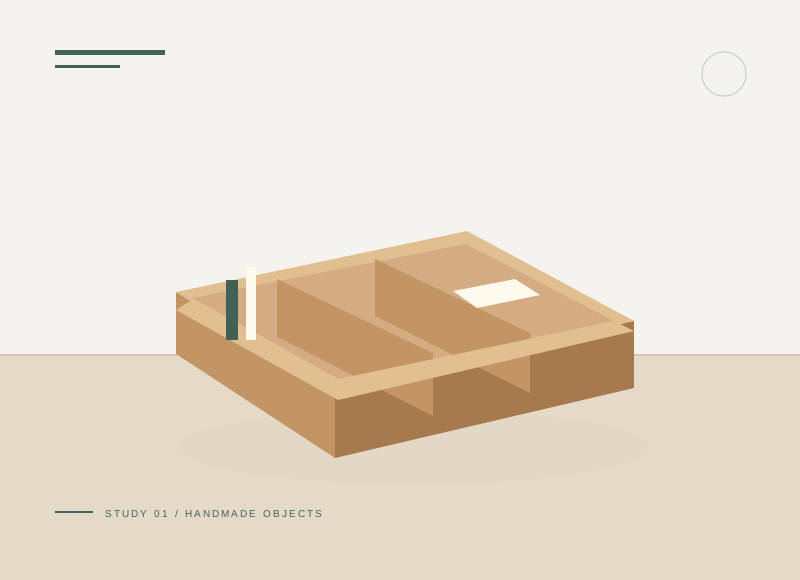
The illustration is a concept, not a scale drawing or a record of a tested build. Use a full-size template or dry fit to check the written layout with your actual materials.
Gather your materials
Tools to have nearby
Choose materials deliberately
Make it, step by step
Measure the drawer
Measure at the floor, check obstructions, and leave enough clearance to lift the grid out.
Cut the strips
Make strips lower than the drawer sides, with one set along each direction.
Mark slots
At crossings, cut slots half the strip height and the actual cardboard thickness wide.
Check before moving onMark an upper-slot set and a lower-slot set on removable tape so the cutting directions cannot be mixed.
Join the grid
Slide the two sets together and enlarge tight slots gradually rather than crushing the board.
Fit and cover
Tape rough edges and test the drawer empty. Store lightweight dry items.
Check before moving onRun the drawer through its full travel with the empty grid before putting belongings inside.
Troubleshoot this project
Why will the strips not reach the same bottom level?
What to check. Slots may be too shallow, cut from the same edge on both sets, or obstructed by crushed fibers.
Next move. Check the two-strip sample and mark which set slots from above and which from below.
Why does the drawer scrape?
What to check. A divider may exceed the clear height or catch an internal obstruction.
Next move. Remove the grid and check the drawer motion empty. Lower and reposition the pattern before reloading.
The final check
The drawer closes freely and the grid lifts out in one piece.
Begin with one lengthwise strip and two cross strips; add compartments only as needed.
Record your actual sizes, material changes, and the result of your fit check in your project notebook. Keep the product name with any finish or adhesive sample.
Use a stable work surface and tools within your experience. Follow the exact tool and product instructions for preparation, dust control, ventilation, and cure. These decorative concepts have no structural load rating. Stop if the material or existing finish cannot be identified.