Fit, dimensions & layout
For a 90 × 45 mm finished label, add the allowance needed for your chosen hem to all four edges. Check the writing space after folding, not before. Tie positions should align with real openings in the basket weave, so hold a paper label in place before stitching the ribbons. Choose broad household categories that fit the longest label.
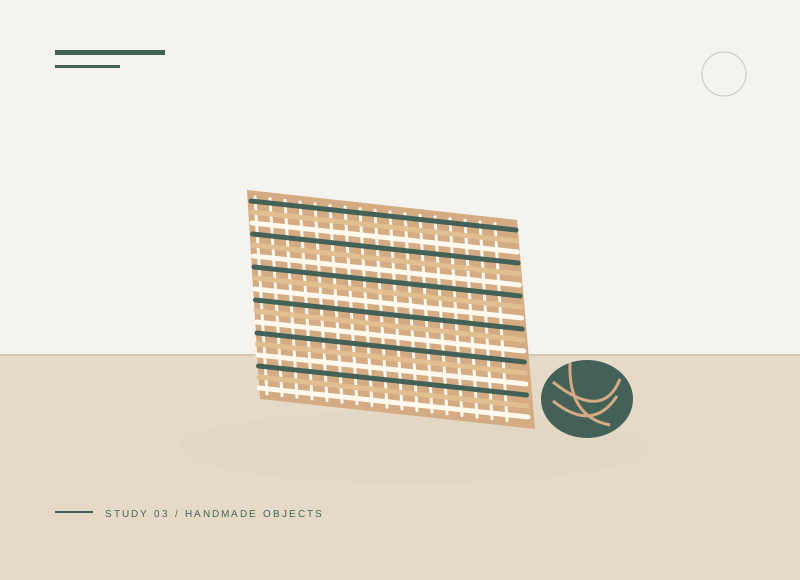
The illustration is a concept, not a scale drawing or a record of a tested build. Use a full-size template or dry fit to check the written layout with your actual materials.
Gather your materials
Tools to have nearby
Choose materials deliberately
Make it, step by step
Cut rectangles
Allow for a narrow hem and select closely woven cloth.
Check before moving onUse a paper mock-up of the finished size to test both lettering and tie positions against the actual basket.
Finish edges
Turn and stitch edges to reduce fraying, testing one first.
Write on a firm surface
Place card underneath and follow marker drying or setting directions.
Add short ties
Stitch short ribbons to both sides rather than leaving dangling loops.
Check before moving onSecure the ribbon stitches before attaching and keep ribbon ends short instead of leaving loose loops.
Attach to the basket
Tie through sturdy weave openings without distortion and keep beyond reach of small children.
Troubleshoot this project
Why is the label curling?
What to check. Uneven hemming, tight stitches, or heavy marker application may distort the cloth.
Next move. Test a flat label and keep stitch tension even; allow the marking product its specified drying or setting process.
Why does the basket weave distort?
What to check. Ties may be pulling neighboring strands together.
Next move. Choose wider-spaced sturdy openings and tie only tightly enough to hold the label flat.
The final check
The writing is set and ties remain short and secure.
Dark lettering on light cloth stays readable at everyday viewing distances.
Record your actual sizes, material changes, and the result of your fit check in your project notebook. Keep the product name with any finish or adhesive sample.
Use a stable work surface and tools within your experience. Follow the exact tool and product instructions for preparation, dust control, ventilation, and cure. These decorative concepts have no structural load rating. Stop if the material or existing finish cannot be identified.