Fit, dimensions & layout
Account for the remote depth, not only its front outline. A flat two-panel sleeve needs enough extra width to wrap around both side edges plus seam allowance. Start with the example 10 mm side ease on a paper pattern, then wrap a felt scrap around the actual remote and revise. Keep the opening below any feature needed to grip and remove it.
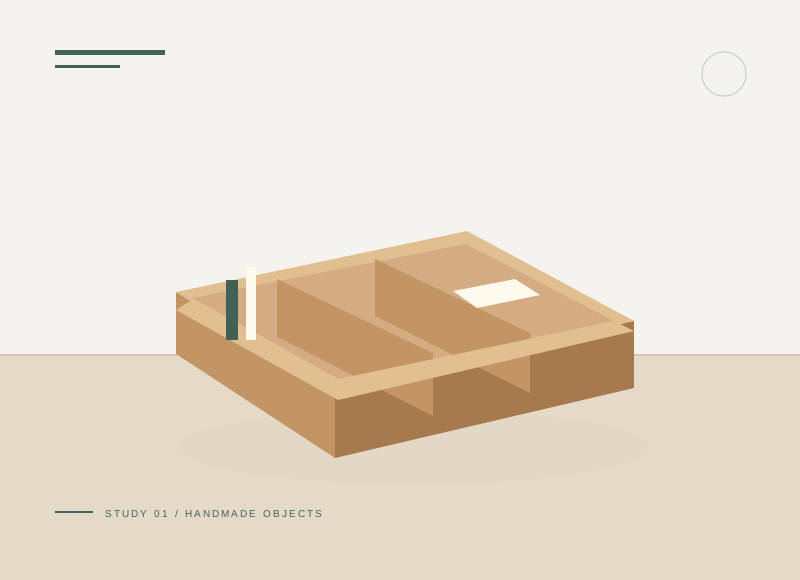
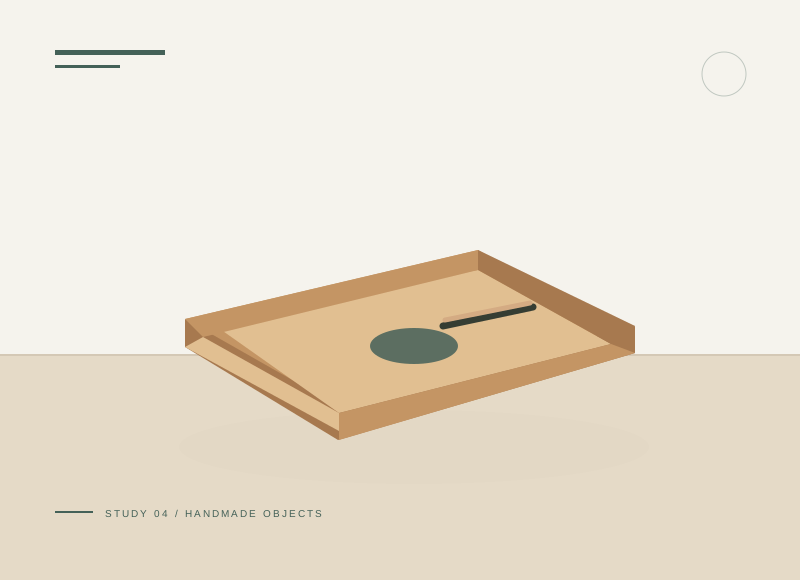
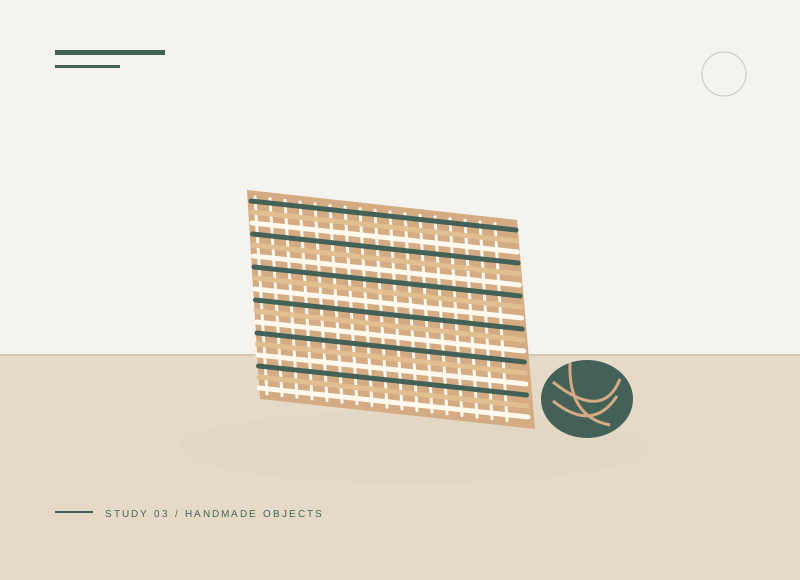
The illustration is a concept, not a scale drawing or a record of a tested build. Use a full-size template or dry fit to check the written layout with your actual materials.
Gather your materials
Tools to have nearby
Choose materials deliberately
Make it, step by step
Make a pattern
Trace the remote and add roughly 10 mm side ease plus any extra needed for its depth.
Check before moving onTest removal with a paper pattern before cutting both felt pieces, allowing for the thickest part of the remote.
Cut the panels
Use one template for both. Lower the front edge slightly for easier access.
Stitch three sides
Use even running or blanket stitches and leave the top open.
Check before moving onTry the remote after a temporary seam before completing permanent stitches around the three sides.
Check the fit
Slide the remote in and out. Remake wider if tight instead of forcing the seams.
Place for storage
Lay flat in a drawer or use an existing stable organizer. Check that no buttons remain pressed.
Troubleshoot this project
Why are buttons being pressed?
What to check. The pocket may be too tight or its opening may fold against the controls.
Next move. Remove the remote and enlarge the pattern; store only after confirming no button is held down.
Why do seams pull open?
What to check. The panel ease may be insufficient or the stitch line too close to the felt edge.
Next move. Use a wider prototype and leave enough felt outside the stitches to hold them.
The final check
The remote removes easily and no button is held down.
Thick felt needs more ease than thin craft felt; test around the actual remote.
Record your actual sizes, material changes, and the result of your fit check in your project notebook. Keep the product name with any finish or adhesive sample.
Use a stable work surface and tools within your experience. Follow the exact tool and product instructions for preparation, dust control, ventilation, and cure. These decorative concepts have no structural load rating. Stop if the material or existing finish cannot be identified.